

The early days of World of Warcraft (WoW) saw a significant divide in class utility, particularly between the Paladin’s Blessings and the Shaman’s Totems. These two mechanics not only shaped gameplay strategies but also influenced faction dynamics and player interactions. Understanding the nuances of these abilities is crucial for both historical context and gameplay optimization. This guide delves into the specifications, mechanics, and strategic applications of Blessings and Totems, providing a comprehensive analysis of their impact on early WoW factions.
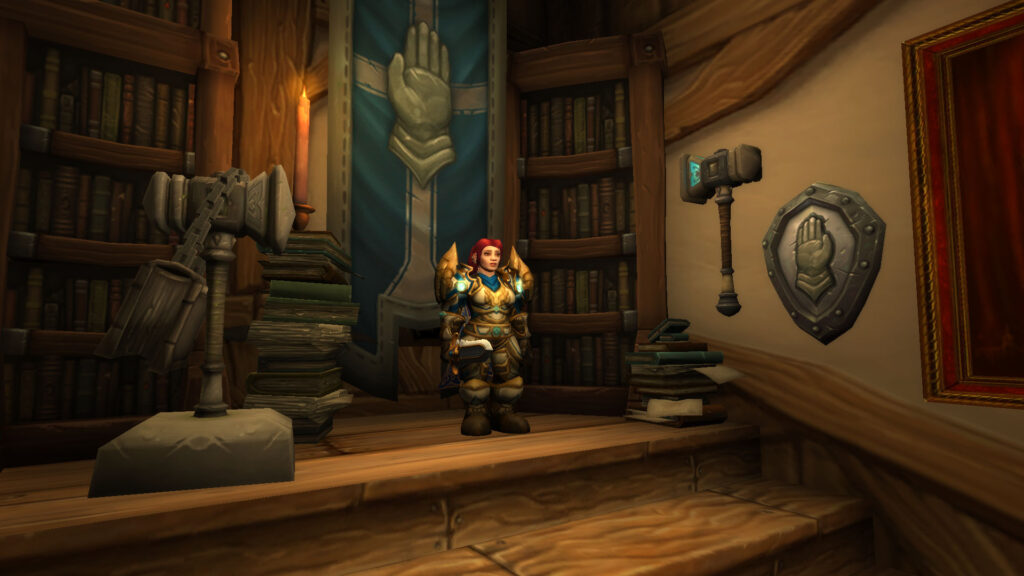
What are the key differences between Blessings and Totems in WoW?
Blessings provide powerful, single-target buffs to party members, while Totems offer area-based effects with varying utility. Both serve distinct roles in enhancing gameplay, but their applications and strategic uses differ significantly.
To understand the impact of Blessings and Totems, it’s essential to compare their specifications and effects. The following table outlines the key metrics associated with each ability, highlighting their unique advantages and limitations in gameplay.
| Ability Type | Duration | Range | Number of Targets |
|---|---|---|---|
| Blessings | 10 minutes | Self or target | 1 |
| Totems | 30 seconds | 30 yards | Multiple (up to 4) |
| Paladin’s Blessing of Might | 10 minutes | Self or target | 1 |
How do Blessings function in early WoW gameplay?
Blessings are powerful, long-lasting buffs that Paladins can cast on party members, enhancing their combat effectiveness significantly.
In the context of early WoW, Blessings served as a cornerstone of group dynamics, particularly in raid and dungeon settings. Each Blessing provided specific enhancements, such as increased attack power or improved healing, which were crucial for maximizing a party’s overall performance. The ability to maintain these buffs for extended durations allowed Paladins to focus on other aspects of gameplay, such as healing or damage dealing, without the constant need for recasting. This efficiency made Paladins highly sought after in group compositions, especially for their Blessing of Kings, which offered a substantial boost to all stats.
Mechanically, Blessings operate under a straightforward casting system, where a Paladin can apply a single Blessing to a target. The choice of which Blessing to use often depended on the composition of the group and the specific challenges faced in encounters. For example, in a raid with multiple melee classes, Blessing of Might would be prioritized, while in a healing-intensive scenario, Blessing of Wisdom would take precedence. The strategic selection of Blessings, combined with their long duration, allowed Paladins to significantly influence the outcome of encounters through careful planning and execution.
What role do Totems play in Shaman gameplay?
Totems provide versatile, area-based effects that enhance group performance, offering a range of buffs and utility options for Shamans.
Shamans utilize Totems to create a dynamic and flexible support system within their groups. Each totem has a specific function, such as increasing spell power, providing health regeneration, or enhancing melee damage, and can be strategically placed to maximize their effectiveness. Unlike Blessings, which are single-target buffs, Totems can affect multiple players within a certain radius, allowing Shamans to support their entire party simultaneously. This area-based utility is particularly valuable in large-scale encounters where positioning and spatial awareness are critical to success.
Totems are categorized into four primary types: Earth, Fire, Water, and Air, each offering distinct benefits. For instance, the Healing Stream Totem provides continuous healing over time, while the Windfury Totem can significantly increase melee damage output. The Shaman’s ability to drop multiple totems simultaneously enhances their utility, allowing for a combination of buffs that can adapt to the needs of the group. However, the short duration of totems requires Shamans to be proactive in their placement and management, creating a more dynamic and engaging gameplay experience.
What are the critical steps to effectively utilize Blessings and Totems?
Effectively utilizing Blessings and Totems requires strategic planning and execution to maximize their impact during gameplay.
To harness the full potential of Blessings and Totems, players must understand the specific needs of their group composition and the challenges of each encounter. This involves assessing the strengths and weaknesses of party members and tailoring buffs accordingly. For example, in a raid with a heavy focus on melee damage, a Paladin should prioritize Blessing of Might, while a Shaman may need to drop Windfury Totems to amplify damage output. Understanding the timing and placement of these abilities is crucial for maximizing their effectiveness.
- Assess group composition and encounter requirements to determine the most beneficial Blessings or Totems.
- Communicate with team members to coordinate the timing of buffs and totem placements.
- Monitor the duration of Blessings and Totems to ensure they are reapplied or replaced as needed.
- Adapt strategies based on encounter dynamics, adjusting buffs to counter specific mechanics or damage types.
How can players strategically apply Blessings and Totems in raids?
Strategic application of Blessings and Totems in raids can significantly enhance group performance and survivability.
In raid environments, the synergy between Blessings and Totems can create powerful combinations that amplify overall effectiveness. For instance, a Paladin’s Blessing of Might can be paired with a Shaman’s Windfury Totem to maximize melee damage output. Additionally, the timing of these buffs is critical; applying Blessings before a major encounter can provide a significant advantage, while Totems should be placed strategically to cover areas where damage or healing is most needed. Understanding the flow of the encounter and anticipating when to use these abilities can turn the tide in challenging fights.
Furthermore, players should consider the specific mechanics of each encounter when applying Blessings and Totems. For example, during encounters with high burst damage phases, a Paladin might switch to Blessing of Sacrifice to absorb damage for a key target, while a Shaman could drop a Healing Stream Totem to mitigate incoming damage across the group. This adaptability is essential for maximizing the utility of both Blessings and Totems, ensuring that players are prepared for any situation that may arise during a raid.
What common issues arise with Blessings and Totems, and how can they be resolved?
Common issues with Blessings and Totems include mismanagement of buffs and ineffective placement, which can hinder group performance.
Players often face challenges when managing the duration and application of Blessings and Totems. For instance, if a Paladin forgets to reapply Blessings after a wipe or during a transition phase, the group may suffer from reduced effectiveness in the next encounter. Similarly, Shamans may struggle with totem placement, especially in fast-paced encounters where movement is required. To mitigate these issues, players should develop a routine for monitoring buffs and totem durations, ensuring that they are always prepared to reapply or reposition as necessary.
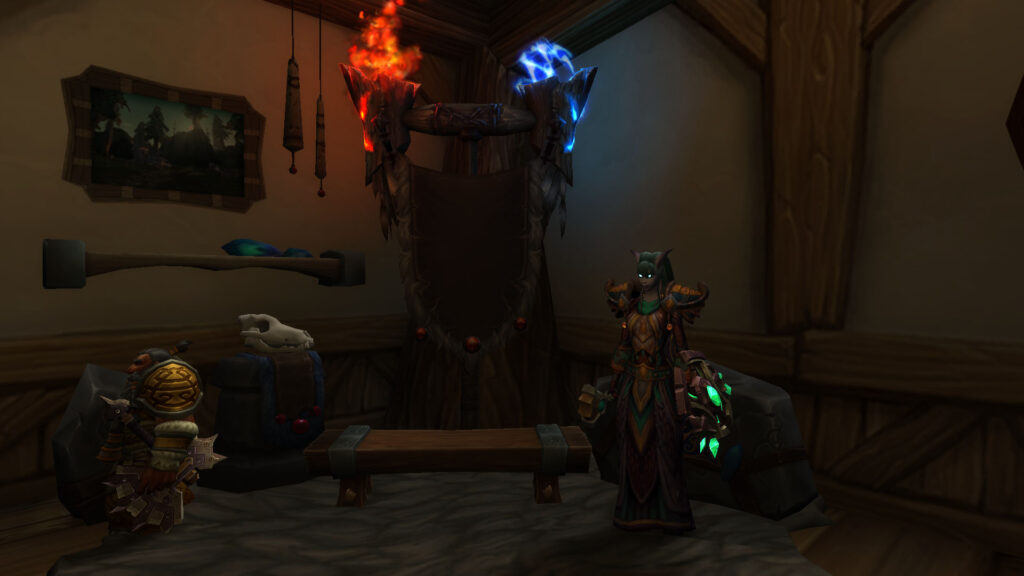
What future trends and scalability options exist for Blessings and Totems?
Future trends in Blessings and Totems may include expanded utility options and improved synergy between classes, enhancing gameplay diversity.
As World of Warcraft continues to evolve, the mechanics surrounding Blessings and Totems may be refined to enhance their effectiveness and adaptability. Developers may introduce new abilities or modify existing ones to create more synergy between classes, allowing for greater strategic depth in gameplay. For example, future expansions could introduce hybrid abilities that combine the effects of Blessings and Totems, offering players new ways to optimize their group compositions and encounter strategies.


